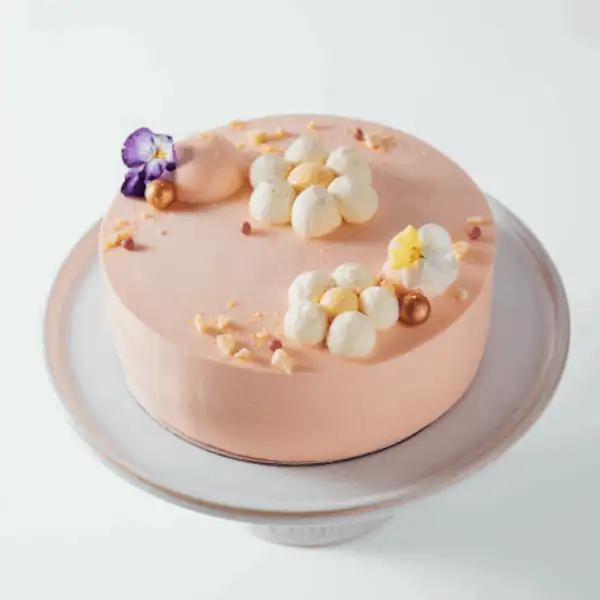
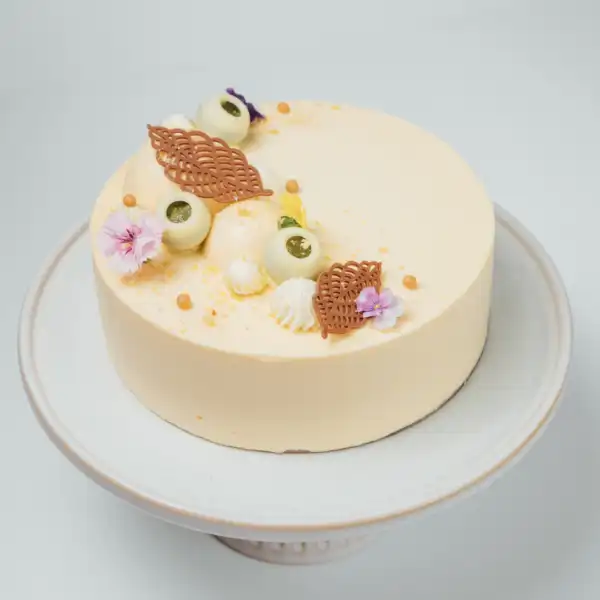
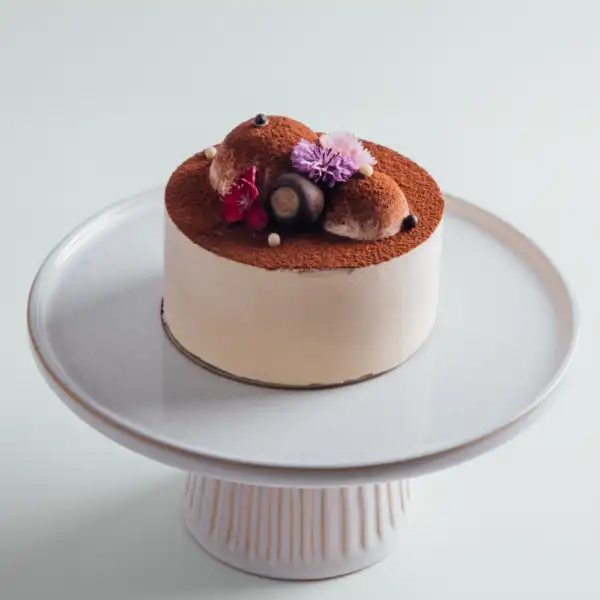
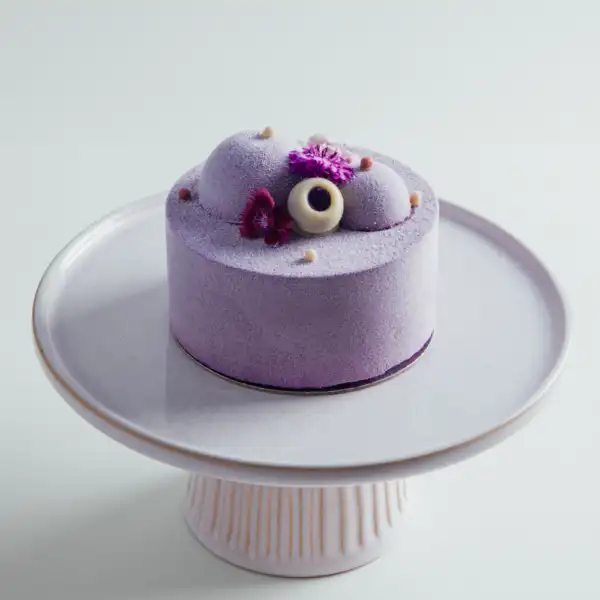
The best part of celebrating small or big milestones with friends and family is sharing a beautifully prepared cake. A round cake in your favourite flavour is often the star of the show, whether it’s for a birthday, an anniversary, or a weekend get-together. Making or buying the perfect cake is easy, but cutting it evenly and elegantly can be hard.
Trust us, you are not the only one who has problems with messy slices, inconsistent quantities, or layers that fall apart. Once you learn how to cut a round cake, serving dessert is easy. At Memo Cakery, we made this guide with easy and practical tips for every Kiwi host to know for cutting a round cake perfectly.
Why Cake Cutting Technique Matters
You may think that cutting a cake is a straightforward job, just grab a knife and go for it. How you cut a cake affects its presentation and how well it is served to everyone. A good slicing method ensures that:
- Each guest gets a fair share
- The cake stays intact and presentable for longer
- You avoid unnecessary waste
- The texture and design of the cake are maintained
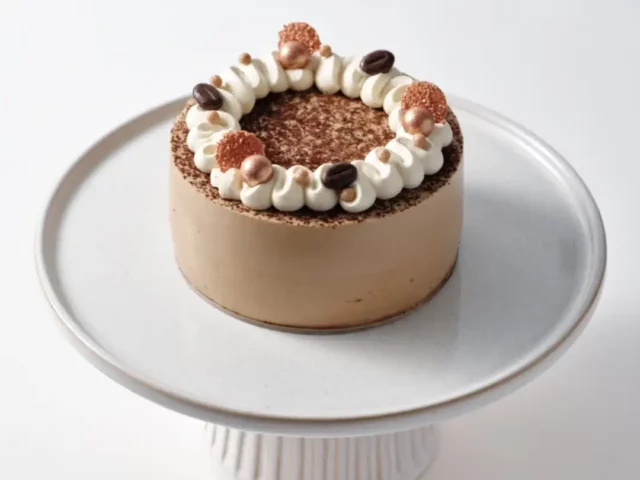
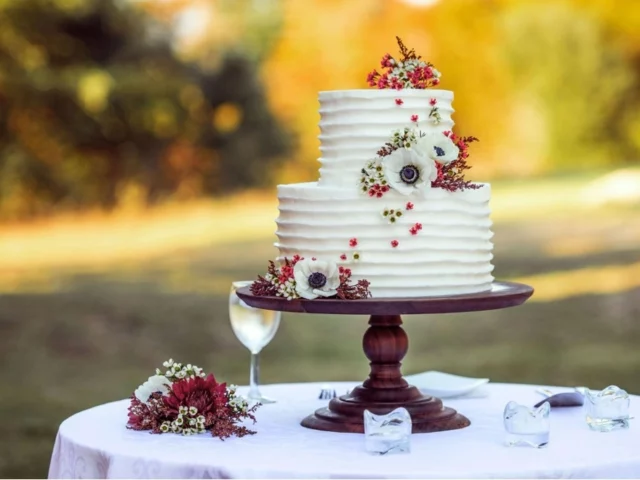
In short, learning to cut a round cake properly makes the whole dessert experience more enjoyable for everyone at the table. Thinking to play it safe, go for our eternal favourite, the black forest cake.
Get The Basics Right: What You Need
Before you begin cutting, take a moment to set yourself up for success. Here is what you will need:
- A long, sharp chef’s knife
- A clean, damp towel or a jug of warm water
- A cake board or flat surface for serving
- A cake server or flat spatula
- Optional: a ruler or piece of string for marking equal slices
Pro tip: Use a clean knife between cuts, especially if your seasonal cake has layers, cream, or sticky fillings. This keeps each slice tidy and prevents the layers from smudging.
The Traditional Wedge Method
This is the ideal way to cut a round cake for small to medium-sized groups. To cut the cake, just do it like you would a pizza:
- Cut the cake in half down the middle.
- Followed by cutting the cake into quarters by making another cut that crosses the first one.
- Keep cutting each quarter into two or more wedges, depending on how many people you want to serve.
Tip: If you turn the cake around while you cut it, you’ll get even slices. If you have fewer guests, cut only one half or quarter at a time so the rest of the cake stays tidy and fresh.
The Grid Or Strip Method For Larger Groups
This method is perfect for when you are hosting a bigger crowd and want to maximise portions without making the slices too thin or uneven. This method also lets everyone taste the cake flavour uniformly. Here is how to do it –
- Cut a circle about 5 cm inside the edge of the cake, using the tip of your knife to gently trace and slice around.
- Remove the outer ring and cut it into neat rectangular strips.
- With the remaining inner circle, slice it into smaller wedges.
This approach works especially well for layered or frosted cakes, helping maintain structure while giving more control over slice sizes.
Cutting Tall Cakes With Multiple Layers
We all love tall cakes. They are the showstoppers, but they can be tricky to cut neatly. Here is how to keep them looking elegant:
- Use a long knife and cut straight down in one motion without sawing back and forth.
- For very tall cakes, consider cutting horizontally across the middle first, then slicing each half into wedges or strips. This gives you more control and helps avoid collapse.
- Use a cake server or spatula to lift each piece gently and keep it intact.
Serving Equal Portions
If you want each slice to be the same size, here is a quick formula:
- From an 8-inch round cake, you can typically get 12 to 16 slices using the wedge method.
- For larger cakes, use the grid method for up to 30 or more portions.
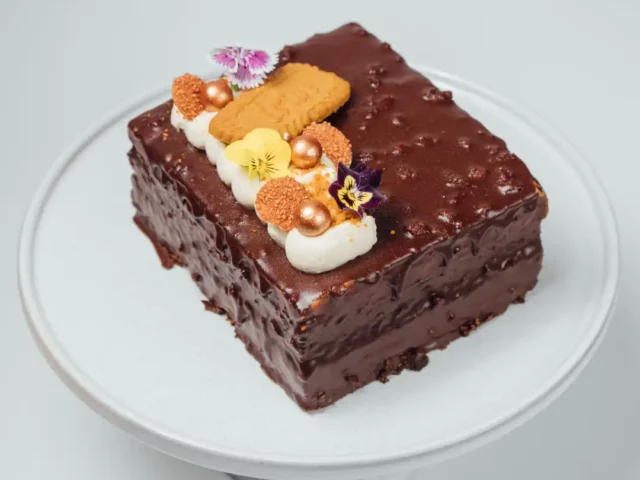
The trick is to lightly mark the top of the cake with your knife before actually cutting to ensure equal spacing. If you are nervous about freehand slicing, use a string or ruler to gently guide your cuts. Choose our chocolate orange cake for that perfect slice of heaven.
Cake Cutting Tips For Icing Lovers
Everyone has that one cousin or friend who goes straight for the slice with the most icing. While round cakes do not have corners, you can still make sure each slice gets its fair share of icing.
- The outer edge of the cake always has more icing, so consider starting from the outside and working inward.
- When using the strip method, cut from the outer ring first, as it guarantees even frosting distribution.
If your cake has decorations, such as flowers or fruit, use a small knife to move them aside before slicing to preserve their look and make cutting easier.
Do Not Forget The Clean Knife Rule
One of the simplest yet mostly missed cake-cutting tips is keeping your knife clean. Always use this trick for a clean cut. Dip your knife in warm water and wipe it dry with a clean towel between each slice. This keeps the layers clean and avoids drag, especially with creamy or sticky cakes like chocolate mud or carrot cake.
Serving It Right
Once your slices are ready, serve them with a cake server or spatula for support. If it is a delicate cake, use two utensils, one to lift and the other to guide onto the plate.
Use small serving plates to keep things tidy and avoid guests juggling oversized portions. Have napkins or tissues handy for a smooth serving experience.
Bonus Tip: Refrigerated Cakes
If your cake has been refrigerated, let it sit at room temperature for about 10 to 15 minutes before cutting. A cold cake can be harder to slice. It may crumble or crack due to the low temperatures it is kept. Letting it rest softens the texture just about enough for a cleaner cut.
Let the Cake Cutting Begin
Cutting a round cake perfectly has more to do with appearances. It is about creating a thoughtful and pleasant experience for your guests. For every Kiwi host, sharing is a part of our culture, and how we serve it matters.
Whether you want it to be a red velvet cake for your child’s birthday or a banoffee for afternoon tea, these easy techniques will help you cut with confidence and style. So next time you light the candles, you will know exactly how to serve up every slice with ease.
Keep a sharp knife, a clean cloth, and a steady hand, and your cake will maintain the texture and form of the cake slide while it will look the part, too.
Ready to try these tips and tricks for your next celebration? Order a cake from Memo Cakery and impress your guests! Contact Us Now!
FAQs
1. What Is the Simplest Way to Produce Even Slices of a Round Cake
Mini cakes dry out faster than full ones, so keep them sealed in an airtight container on the middle fridge shelf. You’ll get 3 to 5 tasty days, no problem.
2. How Can You Prevent My Cake From Crumbling While Slicing?
Use a sharp, non-serrated knife and wipe it rapidly between every cut. If the cake has been refrigerated, let it sit at room temperature for 10 to 15 minutes prior to cutting; it’ll be much easier to work with.
3. How Many Slices Can I Get From an 8-Inch Cake?
You will usually get around 12 to 16 tidy slices with the wedge method. Need more? Use the strip cutting technique to stretch it to 24 or even smaller portions.
4. What Knife Works Best for Cutting Round Cakes?
A long, sharp chef’s knife does the job nicely. Avoid using serrated knives, as they tend to drag through the icing and make a mess of soft layers.
5. How Do I Cut a Tall Cake With Several Layers?
Start by cutting straight down with a steady motion and then splitting them into square-shaped pieces. If you have a particularly tall cake, you can first cut it in half horizontally and then cut each half into strips or wedges.